
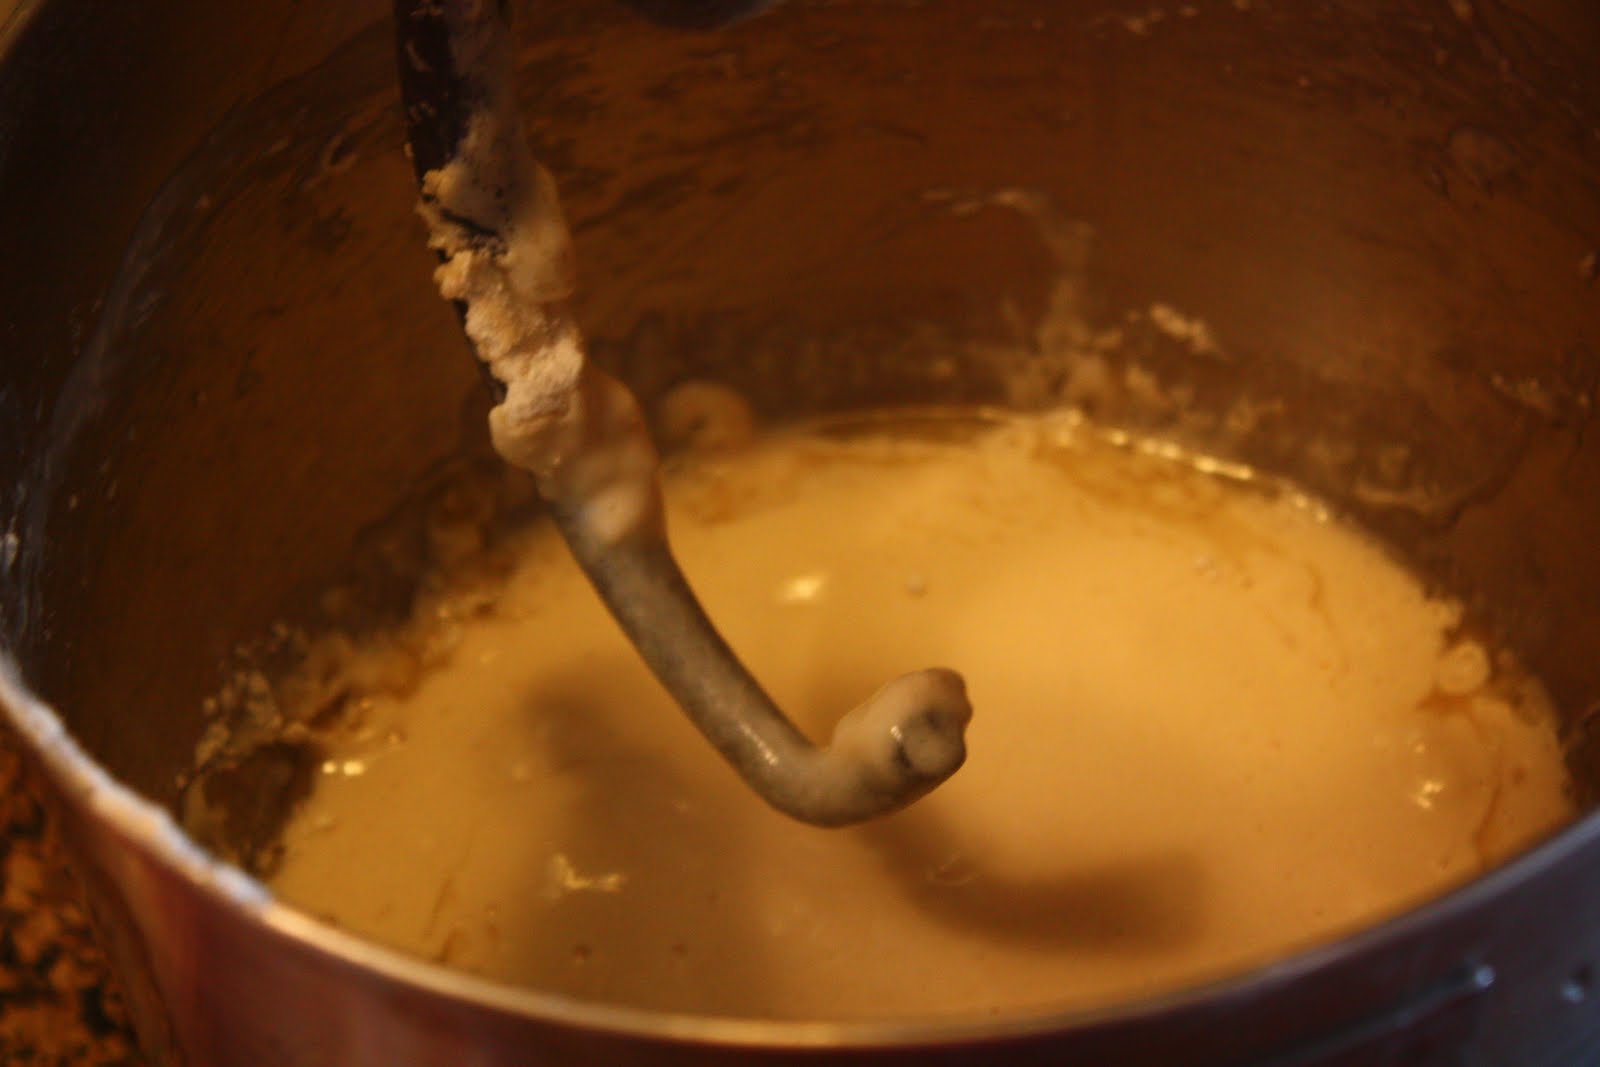
Bread the with the Kitchen Aid Mixer (or Big Sally as I like to call it :-)
1/3 cup oil
1/3 cup honey (bread does not need sugar, contrary to most store bought variety!)
2 tsp. salt
1/2 cup flax seed (optional)
1 1/2 cup warm water
4-5 cups flour


Mix half of flour and above ingredients with a wooden spoon, then add:
1 T yeast


*Tip* You want your dough more sticky than not, it taste better!
Now the fun part! Stir until it's formed a ball, then turn it out onto hard service and knead for 5-7 minutes.
Grease a glass or stainless steel bowl and put a damp cloth over. Let rise until double. Can take 1-4 hours. Just be patient.

Shape into desired shape...we are making rolls today or as my southern son calls them "rauls".
Let rise 30 min. While rising turn over to 350 degrees.
After 30 minutes pop into the oven.
This recipe will be ready for the taste test in 20-30 minutes.
Quick note: Never use a timer to determine a food done-ness. Use them for a gauge but ultimately your your sight and the barometer.
Method #2 Bread the Ole Fashion way, or the way your Momma did it.


Get in there and work your frustrations out! There is no real way to knead, just make sure by the end the dough is smooth and not lumpy with flour.


You can tell it's rising good!
After it's risen, punch dough down and knead about 20 times then shape into whatever you are making and let rise while over is heating.
Method #3
The Bread Machine

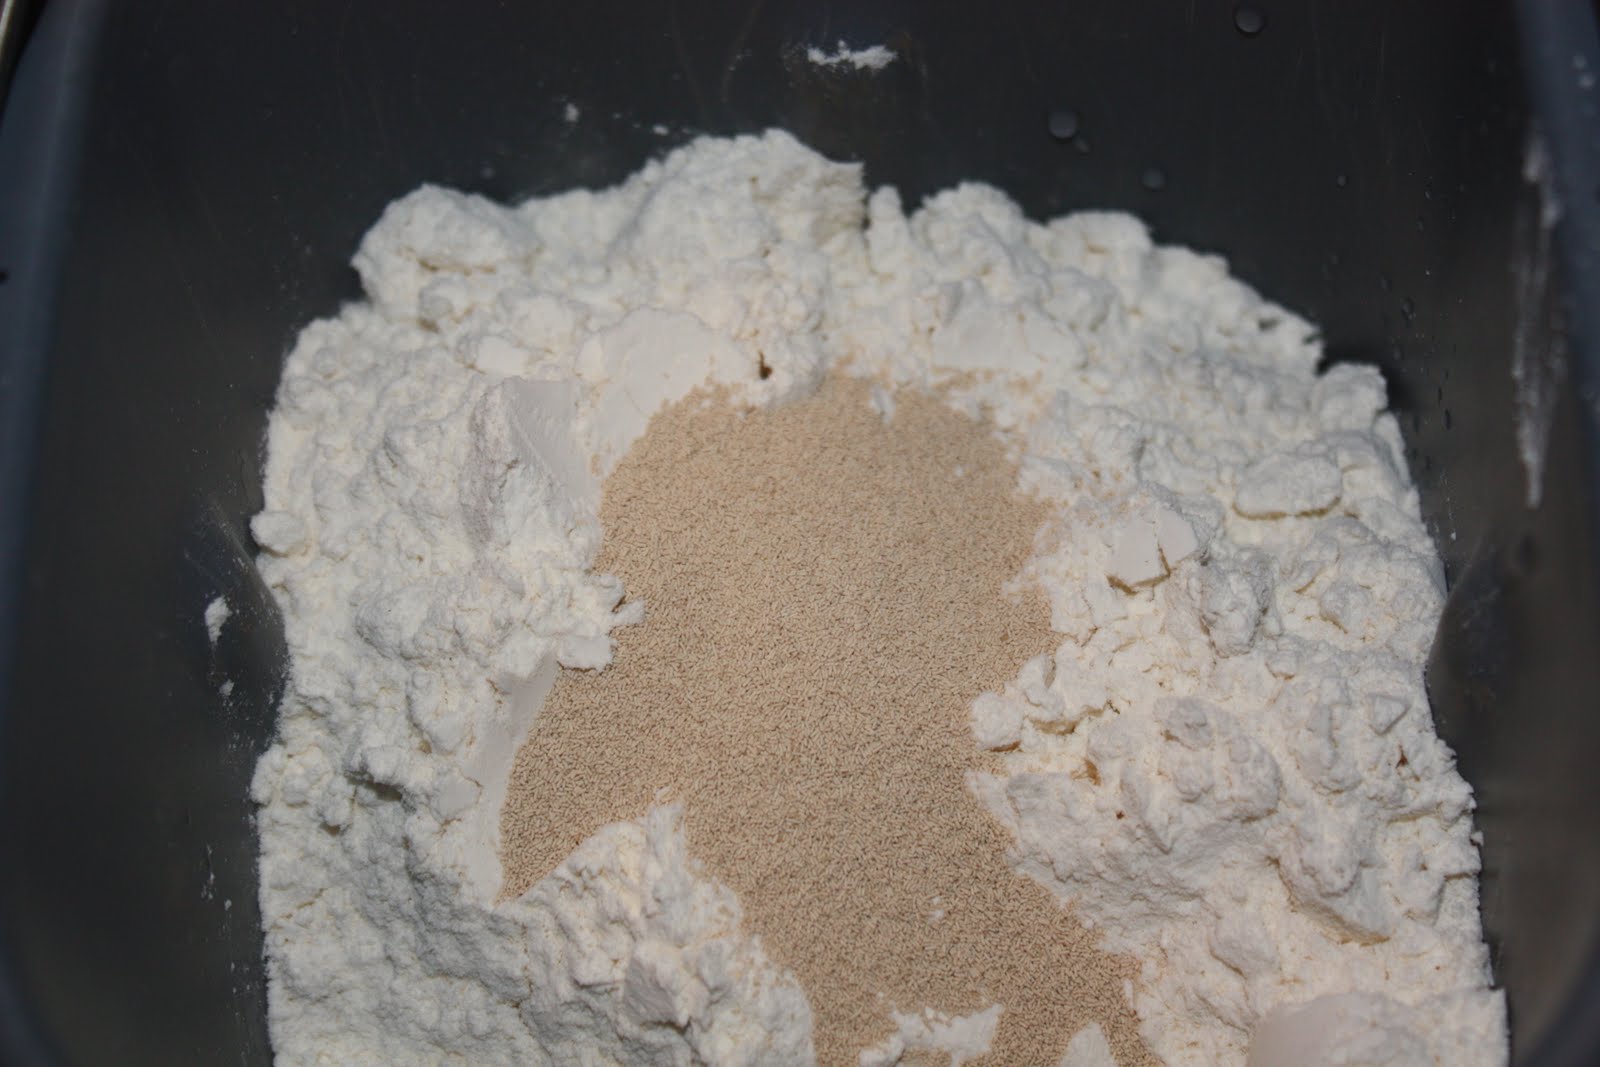
The only trick to this is to dump all ingrediants, put yeast on top and set on dough setting. However I do not let the dough rise twice in the machine...it seems to taste better when I don't.

After 1 1/2 hours of rising. The good thing about bread machines is that you know exactly when the dough will be done!
So the experiement begins!!!
Here are my 3 batches of dough. Each recipe the same, but made by each method listed about.
Hand made....Kitchen Aid...Bread Machine.
Im pulling for the hand made!


I asked Solomon which one he liked the best, and he decided to show me.
The winner was unanimous, which one do you think it was?
No comments:
Post a Comment